I’ve lived in a world where I’ve relied on photo editing for around 15 years, and by that, I don’t mean face-tuning and all those types of editing. See, when I enrolled onto a Brand Marketing and Promotion course at uni waaaaaay back in 2004, I didn’t realise how much photography and imagery would sculpt the main focus of the course.
Within my first year, I had access to Adobe Photoshop and I became a whizz at cropping, tuning, editing, clarifying and all sorts of creative things.
But that was 2004-2007, where nothing else compared. Today, we’re a lot more sophisticated with choices and the latest software I’ve been is Zoner Photo Studio X.
As someone who now works as an online content creator and social media influencer, ensuring my images are bright enough, clear enough and sharp enough is the bread and butter of my business. Therefore, Zoner Photo Studio X has really stepped in for me.
I’ll be honest: I hadn’t been aware of them before I downloaded and started using it, which is why I wanted to put this review together. If you’re in the market for a new editor, Zoner Photo Studio X is definitely worth a look. It basically lets you use layers to edit your photos to a top-quality professional level, taking on elements of both Lightroom and Photoshop.

I’d say it’s probably a little easier to get your head around, as I hadn’t used a desktop version of Photoshop for a couple of years before installing this, and I picked up the basics quickly (and I was never a pro…)
As well as your editing tools, the studio includes some extras that I didn’t expect. You have a cloud-like storage (Zoner Photo Cloud) and the option to get creative with some arty options like compiling photo books, postcards and calendars.
For me, it’s images for blog posts and social media content that I use this for, so I’m predominantly playing around with the Adjust and Effects tabs. I also use the Layer tabs too when I’m working on more complex content, but really for me it’s about editing more cleaner, sharper imagery.
The below images show the results from working on the ‘curves’ tool under the Adjust header, the Retouching Tools (like the Healing Brush) and also the Levels, ‘Remove Noise’ and Sharpen. You can easily change the tones of the images (I’ve turned the blue tones up slightly to rid of harsh orange tones) and amp up the exposure to brighten.


While ZPSX does require a subscription, it’s unbelievably affordable at $4.99 per month or $49 yearly. So, it’s much more do-able and justifiable for those who are students or work for themselves, or have a hobby with photography or creating content and want to be perfecting their images at home.
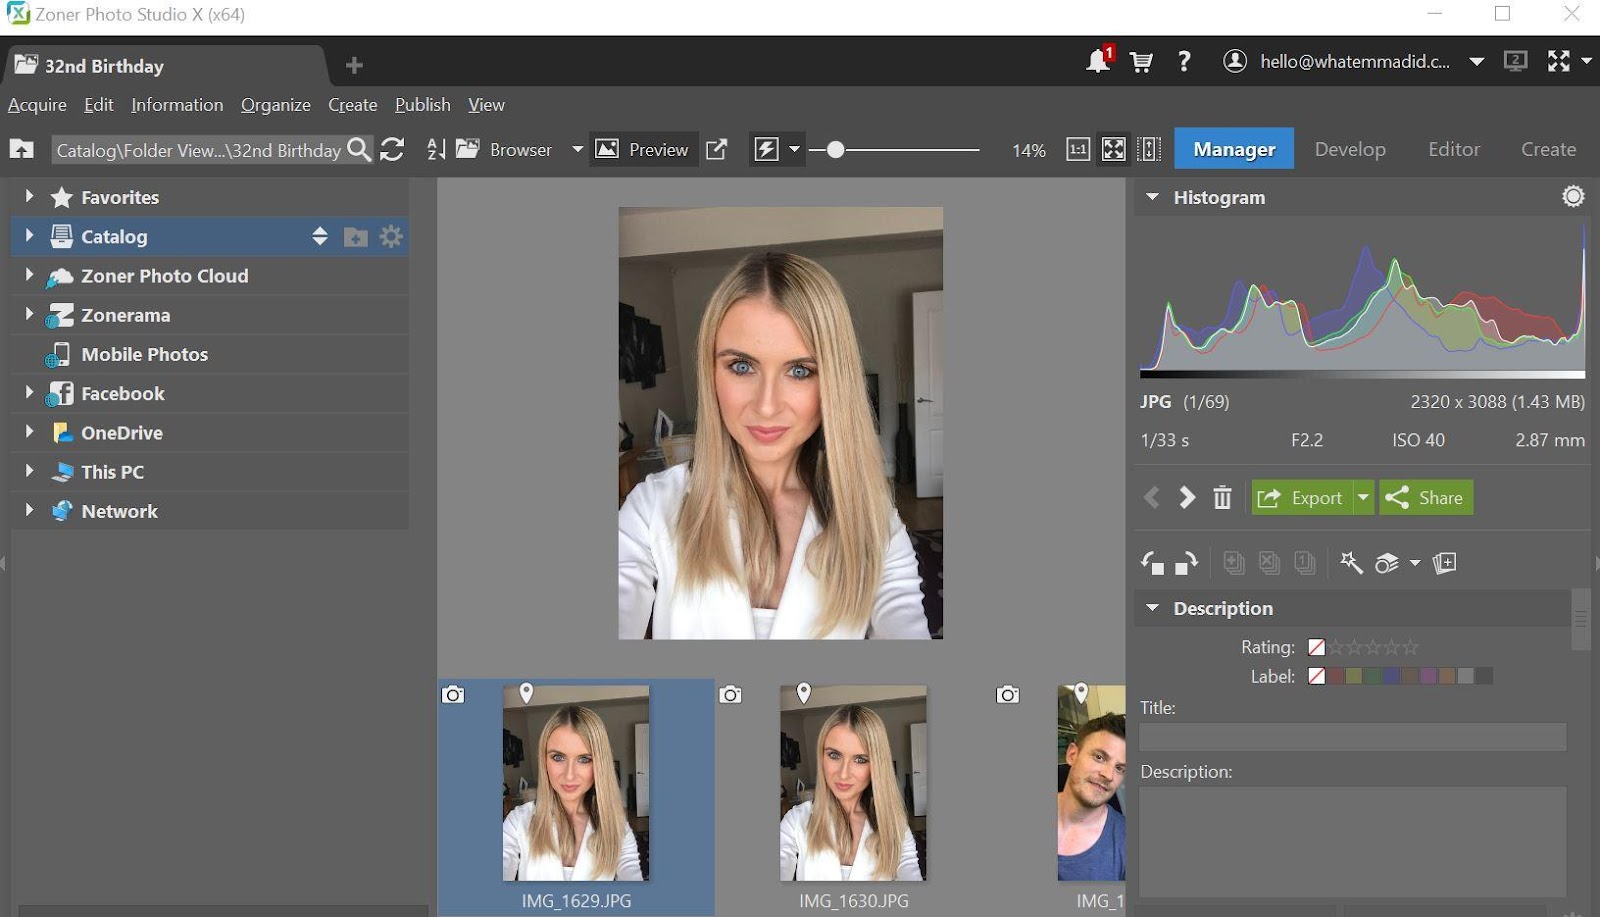
Using Zoner Photo Studio X as a Content Creator:
The basis of the software is split into four modules: Manager, Develop, Editor, and Create. These work like a tab-based window system similar to the tabs in your web browser, so you can run as many separate ‘projects’ as you like really. By opening up a new Manage tab and scrolling through your library at the same time helps you not to lose your place in the editing process.
Most bloggers and social media content creators have hi res, large files, stored everywhere! It’s great to see that when in the Manage mode, you can access any of your photos no matter where they are stored. There’s also the option to use the Zoner Photo Cloud, OneDrive, Facebook, and even your mobile phone.
I found a couple of handy tools which help for outfit posts, such as the Iron tool under Editor – Retouching Tool.

Highlights for me:
- Professional Liquify tools which are pleasantly responsive. These work ‘live’, without having any lag time during brush strokes. I tend to use Liquify if I feel something needs dragging out or pinching in a little. Great for close up professional portraits, or as us modern day creators call them, ‘selfies’!
- Edits are stress free because the software keeps a record of each step that you can undo at any time
- Easy to use cloning tool, which is ideal for me as I take a lot of street style photos and I regularly need to remove ‘objects’ from the background. With the ZPS cloning tool, you can fix blemishes or erase unwanted objects from their backgrounds quickly and stress-free, without being particularly skilled in photo editing.
- Great photo organization through the manage mode. It’s also the place where you add titles to pictures, keywords, ratings and so forth. Once complete, you can move over into the Develop section, which still retains the navigation menu on the left but opens up options such as white-balance, exposure and colour.
- It’s quick and easy to download, where it took just a few seconds to download from the Zoner website and 1-2 minutes to install. It also doesn’t take up a silly amount of space on my computer, too.
- It comes with support: Zoner provides a great on-screen introductory tutorial for each aspect of the program. Additionally, they have a massive online learning portal that covers everything from how to use the program to how to take better photographs, which I didn’t expect to see from a brand that isn’t as huge as someone like Adobe.
I’ve been extremely impressed during the past 10 days of being introduced to Zoner Photo Studio. I don’t feel like it will long until they expand to a wider audience, as they’ve put together a great program that’s definitely worth a look. Value for money is spot on, and I feel like lots of university students, content creators and budding photographers/editors need to hear about this pronto!
To download, click here and try it 30 days for free.

Leave a Reply