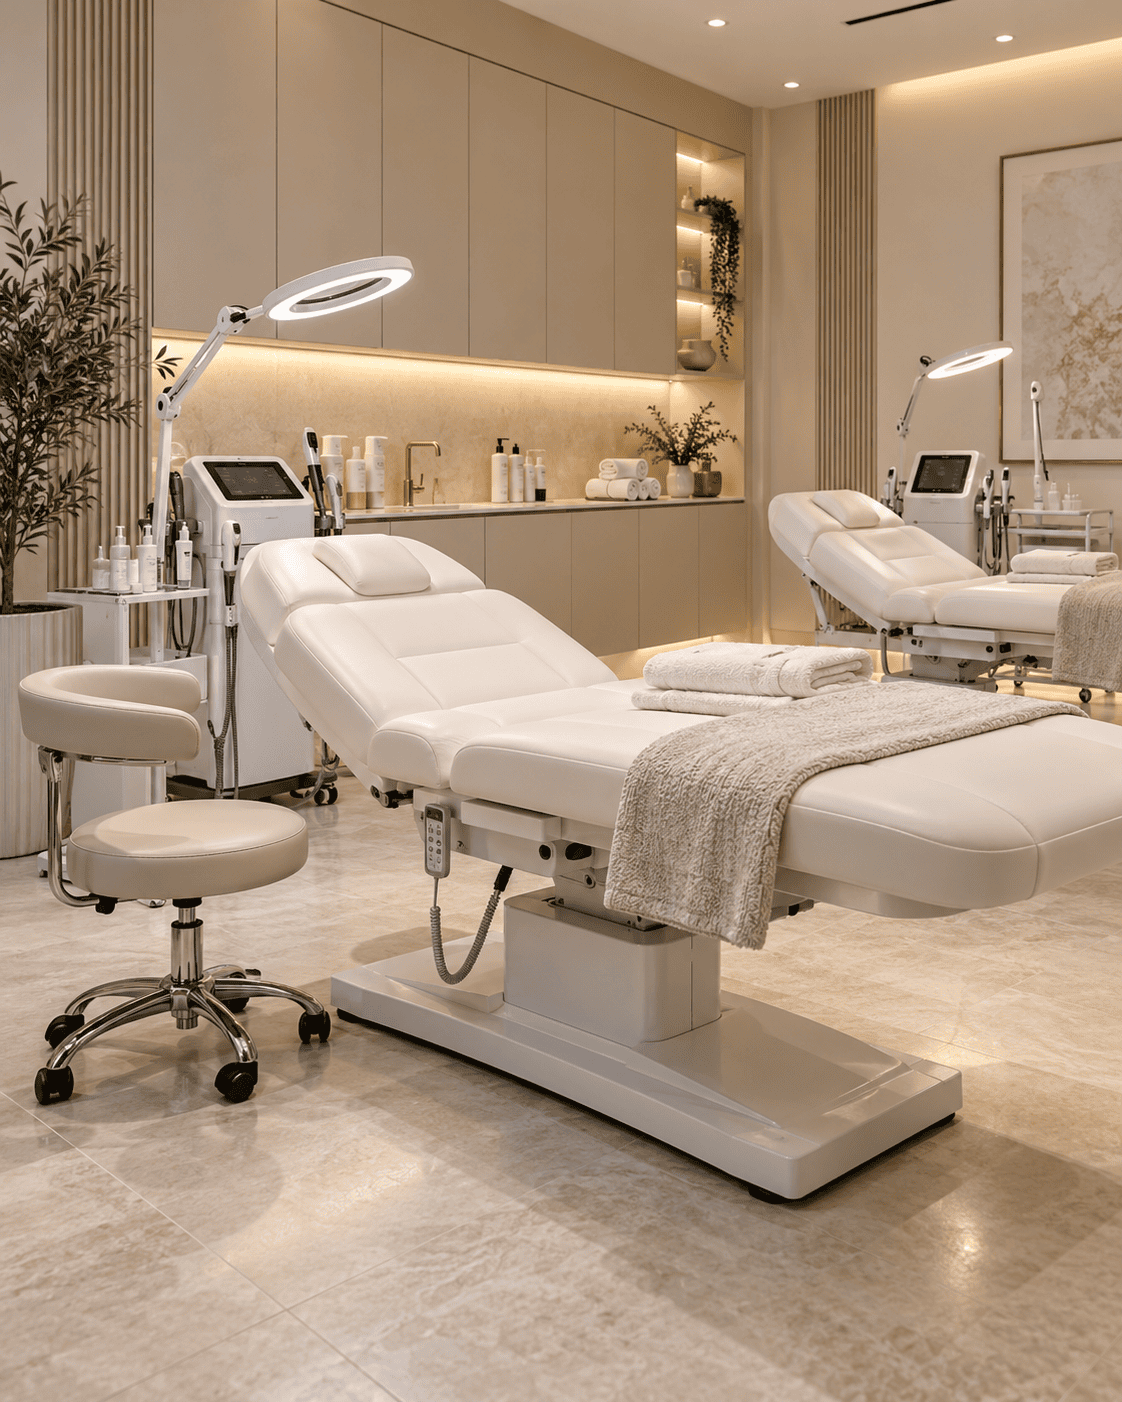
Transitioning from a home setup or mobile business into a dedicated, boutique treatment studio is a major milestone for any beauty professional or aesthetician. However, creating a clinic that meets medical-grade sanitation standards while offering a high-end, luxury client experience requires careful planning.
Use this complete setup checklist to navigate every stage of opening your new clinic space.
Phase 1: Licensing, Insurance, and Compliance
Before purchasing decor or accepting client deposits, address local regulatory requirements:
Local Council Permits: Check your local council’s rules for special treatment licences (required in most UK boroughs for skin piercing, microneedling, laser, and semi-permanent makeup).
Treatment & Liability Insurance: Secure public liability and specialised treatment insurance covering your full scope of services (e.g., lash extensions, brow lamination, chemical peels, or injectable aesthetics).
Clinical Waste Management: Set up a contract with an accredited clinical waste disposal service for sharps, contaminated cotton pads, and chemical waste.
Phase 2: Workspace Layout & Ergonomic Equipment
Your equipment choices directly impact your workflow, physical health, and client comfort.
Motorised Treatment Couches: Treatments like volume lashes or facial profiling require clients to lie still for extended periods. Equipping your studio with high-spec electric beauty beds allows for effortless foot-pedal height and angle adjustments, preventing neck and back strain for the practitioner during long appointments.
Precision Lighting: Invest in high-CRI (Colour Rendering Index) lamps, such as arch lights or multi-arm LED light bars, to ensure shadow-free visibility during fine detail work.
Rolling Storage Trolleys: Keep disposable micro-swabs, adhesive trays, serum vials, and antiseptic wipes organised on smooth-rolling, easy-to-clean trolleys beside your working station.

Phase 3: Interior Styling and Aesthetic Branding
In a competitive market, client retention relies heavily on room ambiance and branding.
Cohesive Colour Palette: Stick to warm neutrals, nude tones, soft beige, or pale sage to convey a clean yet welcoming environment.
Commercial-Grade Beauty Furniture: Sourcing your main fixtures from specialised aesthetic salon furniture collections ensures your reception desk, technician stools, and client seating present a unified, professional look.
Acoustic and Sensory Touches: Install soft curtain dividers, textured walls, subtle essential oil diffusers, and low background ambient music to create a soothing studio environment.
Phase 4: Hygiene and Sterilisation Station
Sanitation is a critical factor for client trust and legal compliance:
Autoclave or Medical-Grade Disinfectant: Set up a dedicated sterilisation nook equipped with hospital-grade disinfectant solutions (e.g., Barbicide, IP alcohol) or a tabletop autoclave for metal tools.
Touchless Dispensers: Install sensor-activated hand sanitisers and soap dispensers near the entrance and work basins.
Clean Linen Storage: Use sealed, moisture-proof cabinetry to store clean towels, headbands, and disposable couch covers away from open air.
Phase 5: Digital Booking & Launch Prep
Automated Booking System: Set up software like Fresha, GlossGenius, or Timely to manage deposits, automated SMS reminders, and consultation forms.
Digital Consultation & Consent Forms: Streamline check-ins by emailing medical history and consent forms to clients prior to their appointment.
Content Day: Photograph your finished, clutter-free clinic space before opening day to build excitement on social media and update your Google Business Profile.



Leave a Reply